|
|||||||||||||||||||||||||
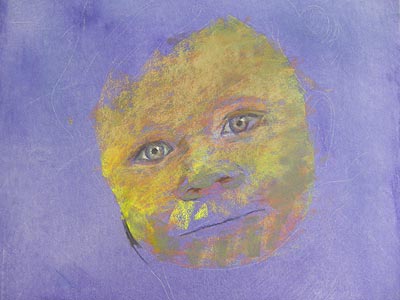
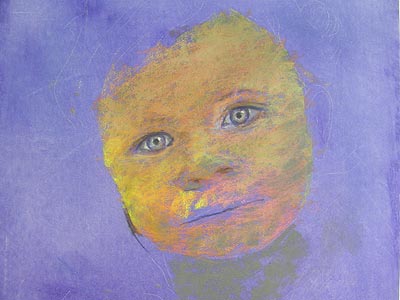
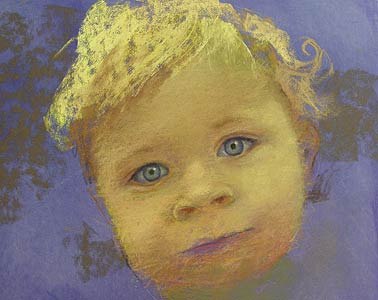
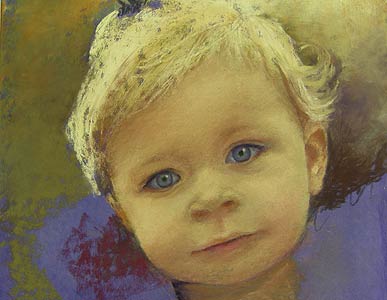
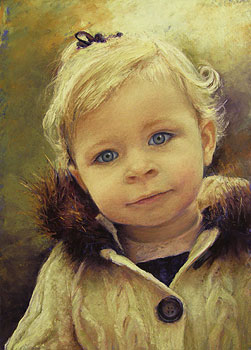
Portraits
|
|
||||||||||||||||||||||||
|
|||||||||||||||||||||||||
|
|||||||||||||||||||||||||
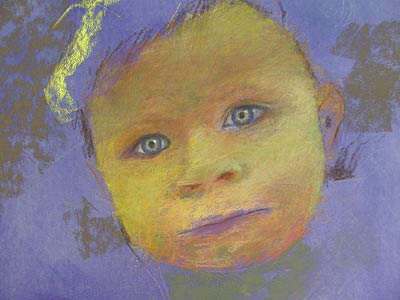
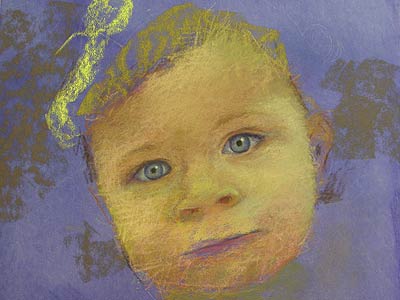
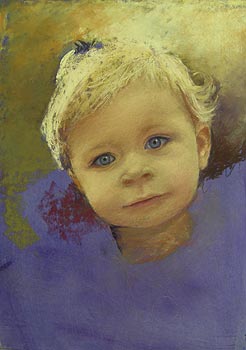
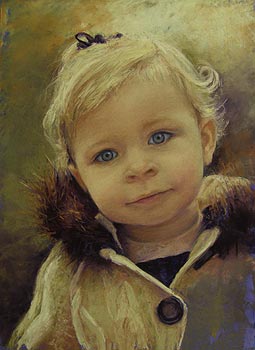
Portraits
|
|
||||||||||||||||||||||||
|
|||||||||||||||||||||||||
©All materials and artwork copyrighted by Elaine Lierly Jones and cannot be used without written consent |
Website designed by Elaine Lierly Jones |